Insight into profile extrusion
Internal defects in profiles with non-symmetrical cross-sections can currently only be detected to a limited extent. The SKZ Plastics Center and the Fraunhofer Institute for Integrated Circuits IIS have therefore now launched a new research project in which X-ray-based computed tomography (CT) is to be used to enable online measurement of a complete 3D image of the extrudate cross-section.

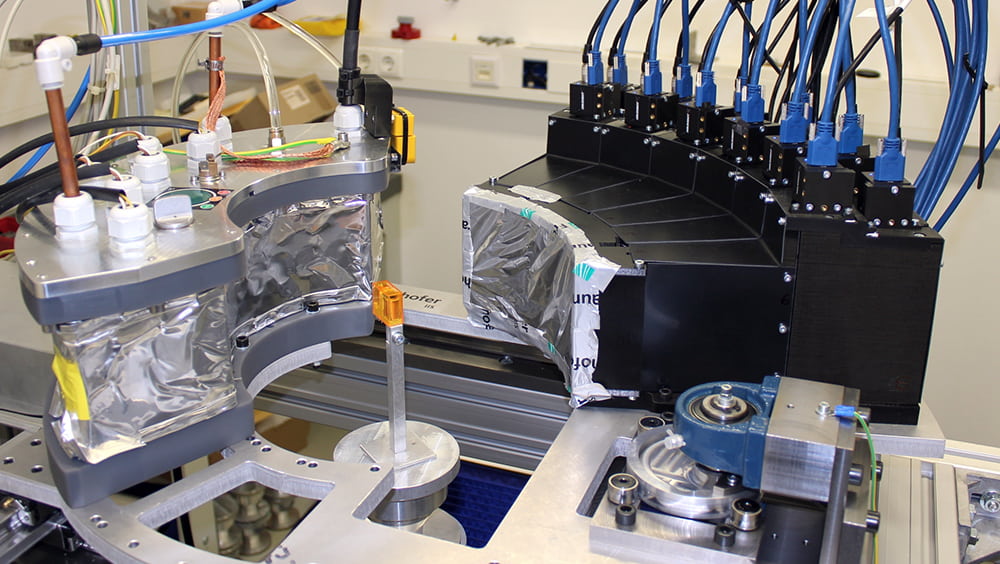
Laboratory measuring stand for X-ray CT measurement, which is to be further developed for online use in plastics extrusion. (Simon Rettenberger, Fraunhofer IIS)
Use of X-ray computed tomography for inline monitoring of non-symmetrical extrudates
Trust is good, verification is better - as is often the case in many aspects of life, this also applies to plastics extrusion. Material defects due to batch fluctuations or residual moisture, wear and contamination on the extruder and tool surfaces, incorrect process settings, etc. can lead to a wide range of defects in the extrudate. If these are not visible from the outside, they are only discovered at the end of the process or, in the worst scenario, at the customer's premises - and end up causing damage in the application.
Detectability of internal defects only on at points and with a time delay
For pipes, hoses and cables, online measurement methods based on ultrasonic and radar wave technology, among others, have already been established. For profiles with non-symmetrical cross-sections, continuous real-time measurement across the entire cross-section is currently not possible. Internal defects, shape deviations, etc. can therefore only be detected at points and only with a time delay.
Measuring time to be reduced to a few seconds
This is where a newly launched research project by the German Plastics Centre SKZ and the Fraunhofer Institute for Integrated Circuits IIS comes in. The solution is X-ray-based computed tomography (CT), which enables a complete 3D image of the extrudate cross-section as an online measurement. In the project, the X-ray CT measurement is to be further developed to reduce the measurement time to a few seconds with sufficiently precise structure resolutions (in the 0.1 mm range). Economic aspects such as maintenance and possible acquisition costs as well as safety aspects, especially for small and medium-sized enterprises, will also be considered.
Development of automatic error detection
The measurement approach is being implemented as a demonstrator and tested on profile extrusion systems in a technical centre setup. The project does not only include the actual measurement, but also the subsequent evaluation of the measured values. To this aim, an automatic error detection system is to be developed for subsequent user support. Due to the suitability of the measurement data generated, established machine learning algorithms are to be used.
Interested companies can participate
The research project started in March 2024. The evaluation and further development of the X-ray-based CT measurement approach in profile extrusion is intended to provide an important contribution and added value for enterprises along the entire value chain. Interested companies are cordially invited to join the project committee of the research project free of charge and to find out about the current results.
About the project:
The project (funding code 01IF23187N) is funded by the Federal Ministry for Economic Affairs and Climate Action (BMWK) as part of the IGF programme via DLR.
More about compounding and extrusion at SKZ

